|
The first thing to do was figure out how to mount one end of the drag chain to the hotend. To compound this the hotend's top end of its metal bracket is angled. So I landed up designing an adapter that fits onto the top of the hotends bracket along with a backplate that fits in a gap betweeen ribs.
|

|
|
|
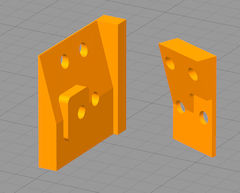
I printed two sets of the adapter and backplate, one to be used as a jig to drill the holes in the hotends bracket. Above is the STL drawing of the adapter and backplate and to the left is the hotend bracket with the holes drilled in it.
|
|
|
|
|
|
|
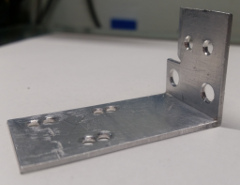
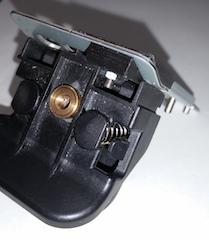
Here are pictures of the backplate and adapter installed on the hotend bracket. To the left shows the backplate installed between the hotend body's ribs. And below is the face of the adapter where the drag chain will mount. (Hard to get detailed pictures of black objects...)
|
|
|
If you noticed that brass ring on top of the hotend bracket above where the pneumatic tube fitting screws in for the bowden filament feed tube that is my
da Vinci 1.0 Pro Feed Mod II" modification.
|
|
|
|
|
|
|
|

|
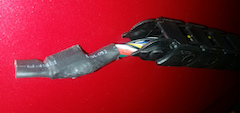
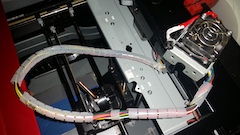
The picture to the left shows the cable that connects to the hotend. To protect the connector while pulling it through the drag chain a piece of heat shrink tubing was placed over the connector and wires and shrunk to a tight fit. The cable was pulled through one drag chain link at a time then the links were then reassembled.
|
|
|
|
|
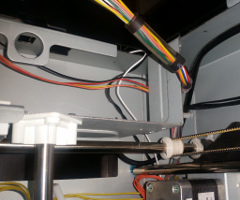
The picture to the left shows how the cable (wires) going to the the hotend were rerouted from where it went through the hole in the frame on the upper left of the picture to around and behind the vertical frame support center right. There is also a piece of clear tubing slit and placed over the wires with a piece of heat shrink tubing shrunk holding it together on each end.
|

|


|
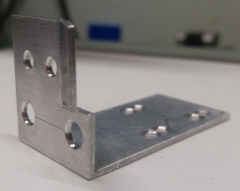
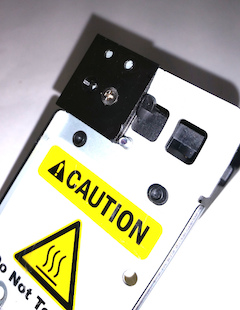
The picture to the right shows the clearance from the bracket to the hotend when the bracket is mounted to the frame along with the drag chain mounted to the bracket. Note the bracket is mounted 3/8" proud of the frame edge that it is mounted to.
|
|
|
|
|
|
|
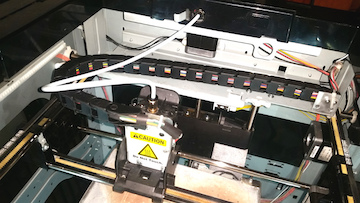
To the left you can see it all installed in the printer and ready to go!
Below you can see the wiring as provided by the manufacturer and the spiral wrap that failed early on.
|
|
|
|
|
|
|
Here is a test print I did to insure the drag chain did not inhibit the hotend movement allowing it to print the full area of the bed.
|
|
|
|
|
The STL for the Drag Chain Adapter for the hotend bracket is available at Thingiverse HERE
|

|