Extrusion Multiplier Calibration Procedure
|
03-Feb-2021
(Revised: n/a)
|
|
(Click on images for a larger view)
|
|
|
1) Print the 40x40x40mm cube with your current settings and recommended temperature for your filament with:
Vase mode
Extrusion Multiplier = 1.0
Primary Layer Height = 0.2mm
Top Solid Layers = 0
Bottom Solid Layers = 2 or 3 or 4
Outline/Perimeter Shells = 1
Infill Percentage = 0%
2) When completed let it cool to room temperature then with a caliper or a micrometer measure the wall thickness. Take 3 spaced measurements on each of the 4 sides, sum those measurements and divide that value by the number of measurements you took and that is your average wall thickness.
3) Using the current slicer setting for the Extrusion Width for the nozzle you are using that you printed the cube with (typically 0.45mm for for a 0.4mm nozzle), divide the Extrusion Width setting by your calculated average wall thickness.
4) Example:
Measured Calculated Average Wall Thickness = 0.49mm
Slicer Extrusion Width Setting = 0.45mm
0.45 / 0.49 = 0.918
Use 0.91 or 0.92 if you want to round up a bit which I usually do, for your Extrusion Multiplier setting for that spool of filament.
One note, the Extrusion Multiplier for that spool of filament can change at any point in the spool due to manufacturing tolerances. If when using that spool changes in the print are noticed you may need to re-calibrate the Extrusion Multiplier for that spool of filament.
|
|
|
|
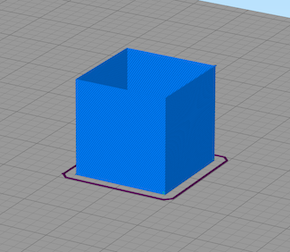
Here on the right is a Simplify3D screenshot
of the Calibration Cube ready for slicing.
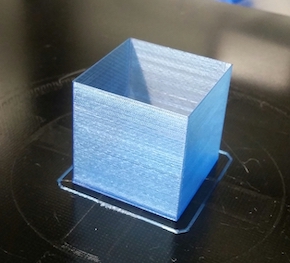
And here on the right
is a Calibration Cube
hot on the printer.
|
|
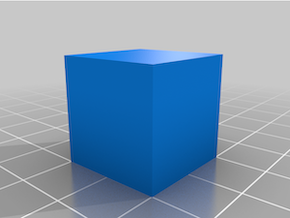
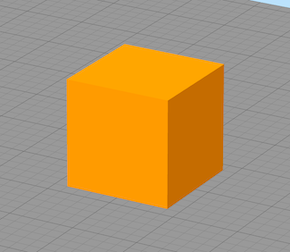
On the left is how the STL model looks.
When you print it there will not be any
top layers, the top will be open.
Download 40mm Cube here:
cube-40-40-40.zip
On the left is a Simplify3D screenshot after
the Prepare to Print (slicing) operation.
|
|
|
|
|
|
|
|
